Creating custom nodes
To create a custom node:
- Select New custom node > GPU or Python in the contextual menu.
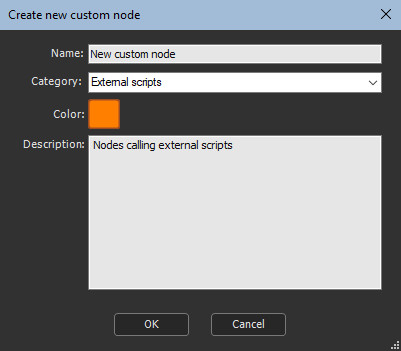
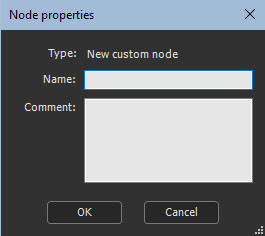
- A dialog opens where you can name the custom node, assign a color, and add a description.
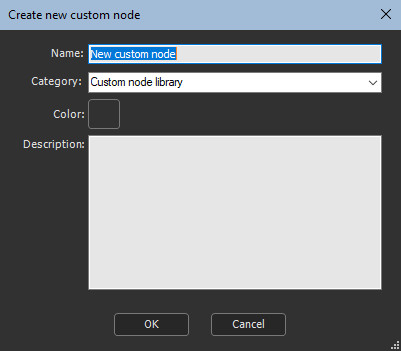
- Choose a Category to classify the custom node in the Models window. By default, a custom node is created in the Custom node library category. You can also select an existing category, such as Terrain transformation, for example.
- To create a new category, type a name in the Category box.
- Click OK to validate.
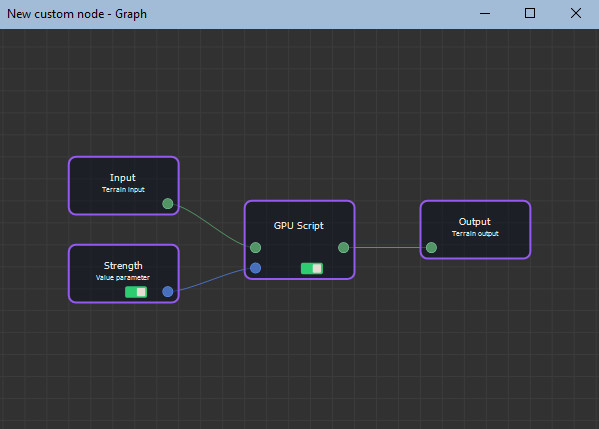
A default node is created with a terrain type input, a terrain
type output, and one parameter.
As the input connector is not linked, the node appears as
invalid.
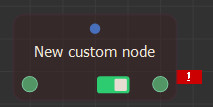
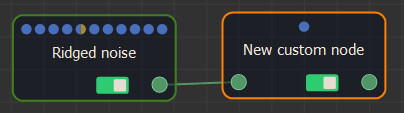
The new node may appear invalid if it needs input data. Link it with a compatible input node.
Editing the node's graph
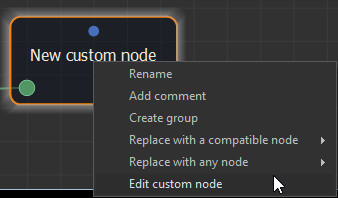
Right-click the node to show the contextual menu then select Edit custom node.
The custom node graph window opens. This is where you define the input, output and parameter (including manipulators) nodes, and also enter the GPU or Python script.
Nodes and connectors
Each time you create an input, an output or a parameter, a
connector is added to the script node.
When you remove an input, an output or a parameter, the related
connector is deleted from the script node.
Naming nodes in the internal graph
- Input default names are Input, Input2, Input3...
- Output default names are Output, Output2, Output3...
- Parameter default names are Parameter, Parameter2, Parameter3...
Warning: when renaming a node, do not use spaces. All space will be removed. Use only letters, numbers and underscores for node names, and the first character must be a letter.
Script properties
Select the script node to open its properties and the script editor.
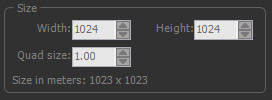
When the node has no input terrain or mask (the node is a generator), you can specify the size (width, height, quad size). Otherwise, these options are disabled and the values set from the input terrain / mask and the output grids take the same values.
Copyright © 2022 · All Rights Reserved · Wysilab