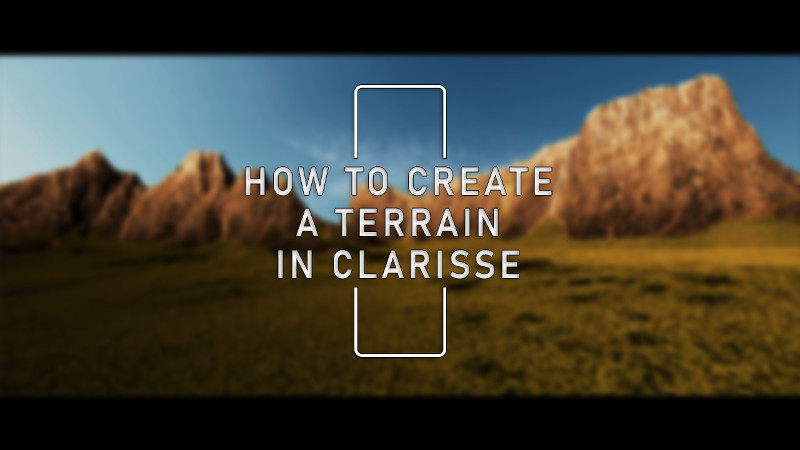
Watch our video tutorial "How to create a terrain in Clarisse" that demonstrates a workflow from Instant Terra to Clarisse.
Download the Instant Terra project and the Clarisse project.
Tips:
- Use the mouse to navigate inside both the Graph editor and the Viewport.
- Click on the corresponding node to view the terrain at any step of the creation process.
- Click on a node's connector pins to see the inputs used or the outputs generated.
- Lock the 3D display so that the terrain or mask currently displayed remains visible in the Viewport, regardless of the selected node.
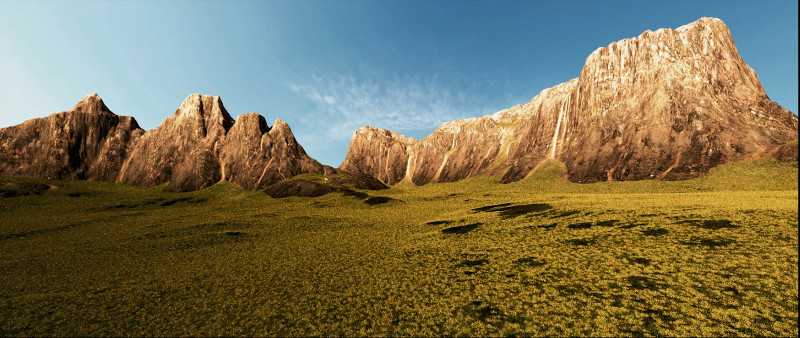
Step 1: Base shape
We combine different noises, and use a painted mask to control the shape of the mountains.
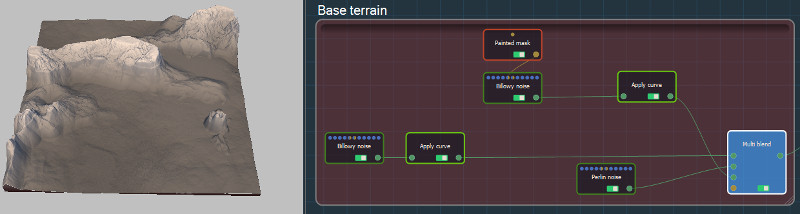
Step 2: Create details
The elevation of the terrain is changed and a Directional Warp is added.
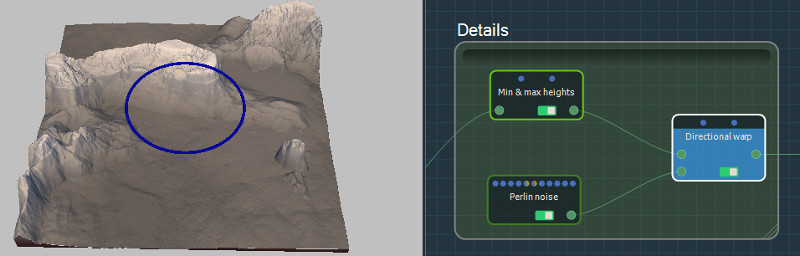
Step 3: Resize and erosions
The terrain is resized for this tutorial down to 1k x 1k. Erosions are applied as well as a step of Snow to add realistic details and provide accurate masks.
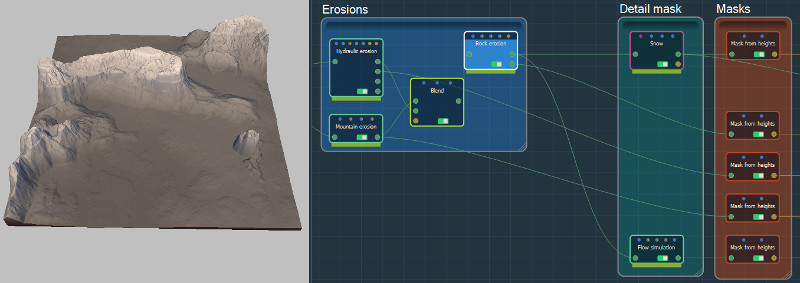
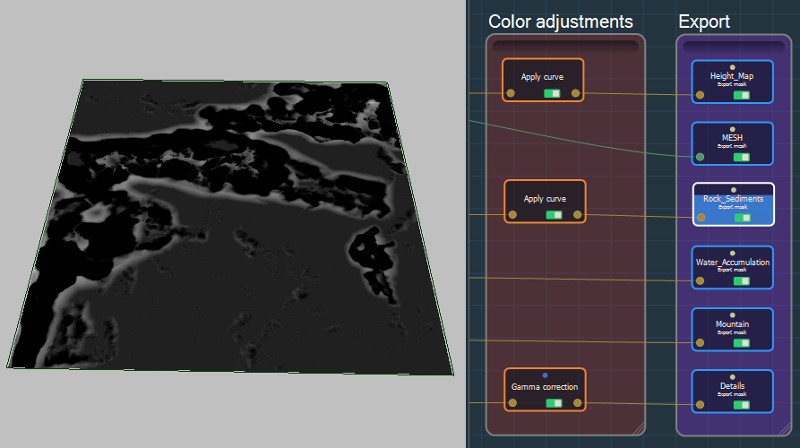
Step 4: Export
Some masks are tuned to get the expected results, then all the masks are exported along with the mesh.
Remark: Specify a different folder for the export files, as the Samples folder is read-only.
Step 5: Working in Clarisse
You are now ready to import your terrain in Clarisse. Follow the steps in the tutorial video "Create your terrain in Clarisse".
Clarisse's project file is provided in the Samples/Clarisse folder.
Copyright © 2022 · All Rights Reserved · Wysilab