Adding a Painted mask node
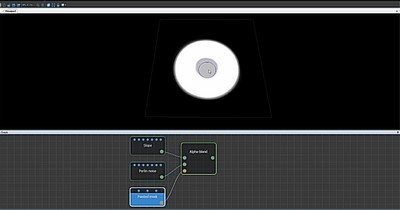
With this node, you can paint mask directly in the Viewport and immediately see the results on the terrain. The Painted mask acts like all other masks, but you can edit it in real time as often as you want.
To add a Painted mask node, right-click in the Graph Editor and select Create Node > Mask Generation > Painted mask.
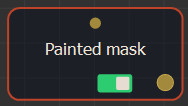
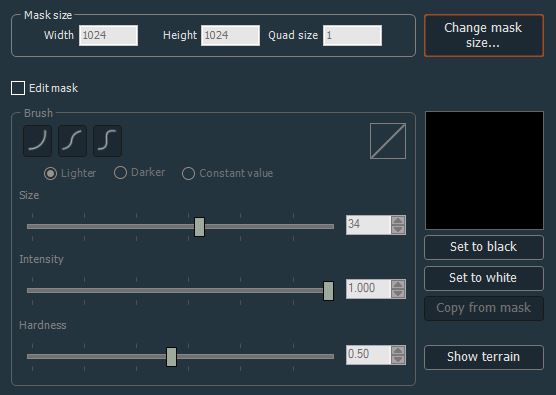
Double click on the node to open its parameters:
Editing the mask size
To begin editing the mask, check the Edit mask box:

- Mask size: The mask size is defined by the input mask. To change it, click Change Mask size.

In the dialog, edit the Width, Height, and Quad size of the mask.
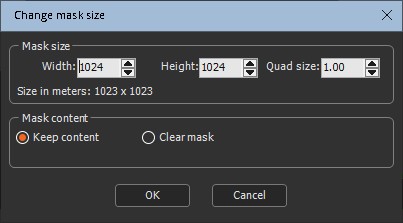
- You can keep the current mask or clear it by checking:
- Clear mask to reset the mask to the default parameters when you change the size.
- Keep content to preserve the mask content when you change the size.
- Reset the mask by either clicking:
-
- Set to black to clear the mask and fill it with zeroes
- Set to white to clear the mask and fill it with ones
- Copy from mask: When the Painted mask node option connector is linked to an input mask, this option is activated. Clicking on Copy from Mask copies the input mask and displays it in the Viewport.
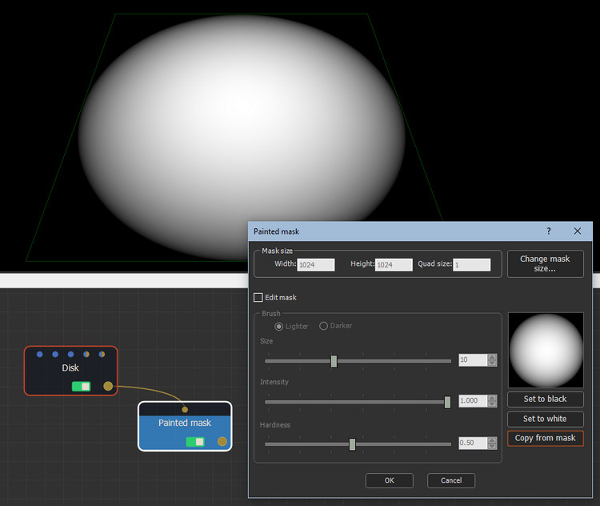
The input mask does not give its size to the
painted mask: if it is not the same size, it is enlarged or reduced
when it is copied.
If the input mask changes, the painted mask is not updated
automatically. You must click Copy from mask to
copy the new input mask. Any modifications that have been painted
are lost.
Painting the mask
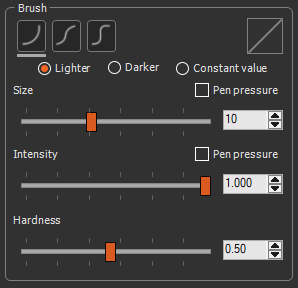
With the Edit mask button activated, use the brush sliders to change the brush size, intensity, and hardness and draw the mask directly in the Viewport. The mask is updated in real time.

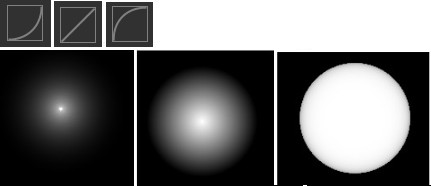
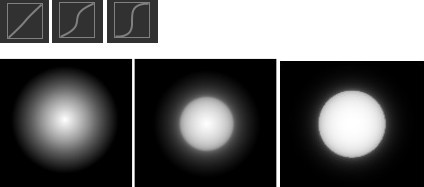
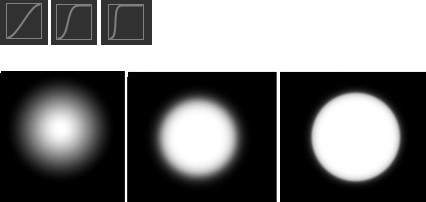
- Select a brush profile. The current profile of the brush is displayed in the right of the window.

The profile is influenced by the hardness of the brush, but neither by size nor by intensity.
For the first profile, here is what we achieve for a low hardness, a medium hardness and a high hardness:
Here is what we achieve for the second profile:
Here is what we achieve for the third profile:
- Lighter allows you to draw the mask and Darker to erase the mask. Press the keyboard shortcut S to toggle between the modes if one of them is already selected.

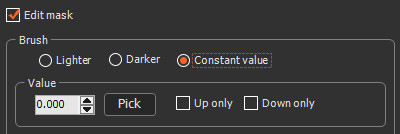
- Selecting Constant value opens additional options:
-
- Value: Enter a value between 0 and 1.
- Pick: By clicking on the Pick button, you can
pick anywhere on the screen, including outside the Instant Terra
window.
If the picked point is not a gray level color, the color is converted to gray level before being converted to a value between 0 and 1.
The brush paints a value on the mask that corresponds to the selected value.
For example, if a value of 0.5 is chosen, when painting on the mask, the value obtained is equal to 0.5, regardless of the previous value. If the intensity is equal to 1, the selected value is reached in one stroke of the brush. If the intensity is less than 1, it will take several brush strokes to reach the chosen value with each brush stroke getting closer to the selected value.
Â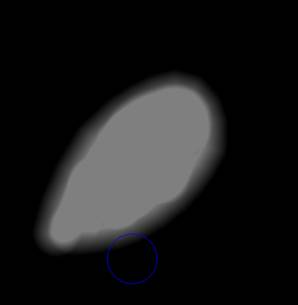
- Up only and Down only: When
the Up only option is checked, the brush only paints where it will
make the mask lighter. Press the keyboard shortcut
S to toggle between the options.
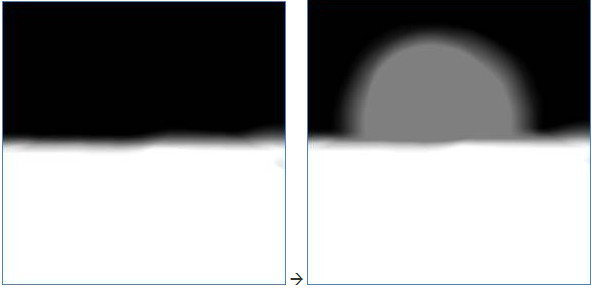
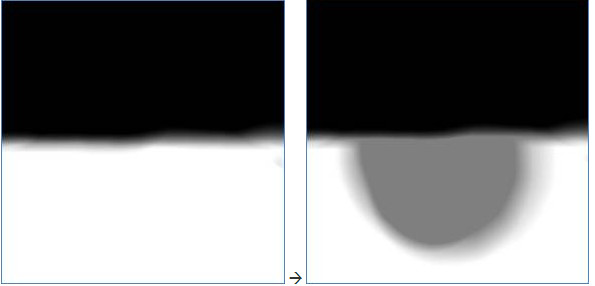
Conversely, when the Down only option is checked, the brush only paints where it will make the mask darker.
- Use the Size slider to set the size of the brush depending on the level of detail that your mask needs.

- Use the Intensity slider to set the intensity of the color of the brush.

- Hardness creates the appearance of translucency. Use the slider to set the attenuation of the intensity of color from the center.

In the Painted mask node, pressing and holding the left mouse button paints the mask. To pan in the mask, you can press and hold the Shift key and the left mouse button, and move the mouse.
Some useful shortcuts:
- S: toggles between the different modes
- D and F: increases or decreases
the size
- G and H: increases or decreases
the intensity
- J and K: increases or decreases
the hardness.
Show terrain / show mask
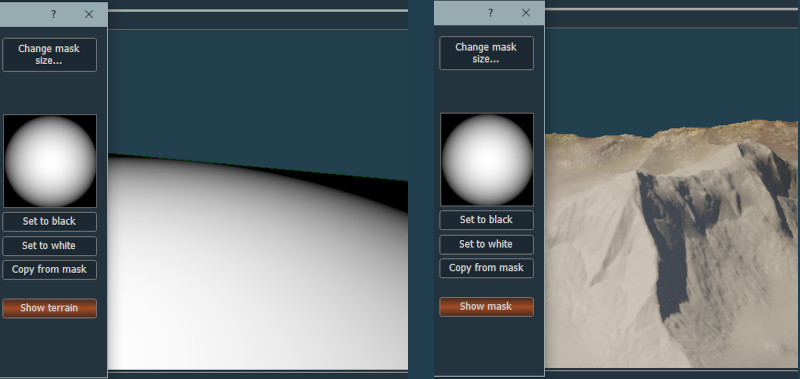
If a terrain is connected to the mask, the button "Show terrain"
is displayed.
Use it to easily toggle between the terrain view and the mask
view.
Pen pressure
If Instant Terra detects that a tablet is connected, two Pen pressure checkboxes appear in the window.
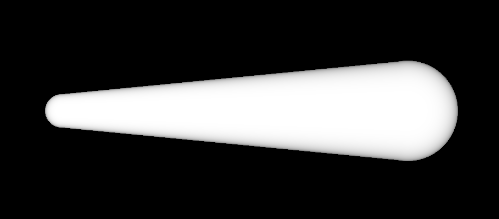
When the first box is checked, the size of the brush is modulated by the pressure exerted on the stylus. For example, here is a line obtained when the pressure exerted on the stylus is increased.
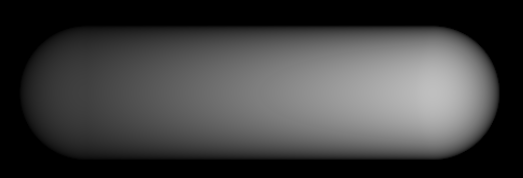
When the second box is checked, the intensity of the brush is modulated by the pressure exerted on the stylus. For example, here is a line obtained when the pressure exerted on the stylus is increased.
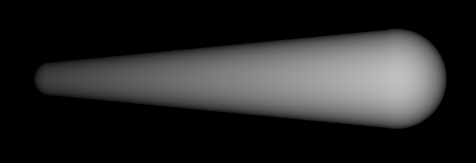
When the two boxes are checked simultaneously, both the size and the intensity of the brush are modulated by the pressure exerted on the stylus. For example, here a line obtained when the pressure exerted on the stylus is increased.
It is advisable to use a soft brush, i.e. a brush with a gradient, rather than a hard brush when modulating the intensity with the pressure exerted on the stylus; otherwise, there is a risk of abrupt transitions when drawing.
Video tutorial
Watch our Painted mask node video tutorial and see how the node works in a complex project.
Parameters
| Parameter | Use |
|---|---|
| Mask size | See Part common to all generator nodes |
| Change mask size | Changes the mask size and keeps the current mask or clears it. |
| Set to black | Clears the mask and fill it with zeroes. |
| Set to white | Clears the mask and fill it with ones. |
| Edit mask | Check box to modify the brush parameters |
| Brush profile | Displays the current profile of the brush, displayed in the right of the window. |
| Lighter | Draws the mask |
| Darker | Erases the mask |
| Constant value | Sets the value of the mask to a constant value |
| Size | Sets the size of the brush |
| Intensity | Sets the intensity of the brush color |
| Hardness | Sets the attenuation of the intensity of color from the center |
| S | Toggles between the Lighter and Darker brush modes, or between the Up only and Down only options of the Painted mask's Constant parameter |
| Pen pressure | When working with a graphics drawing tablet, you can now use pen pressure to drive the brush size and/or intensity. |
Copyright © 2022 · All Rights Reserved · Wysilab