- Adding a Perlin noise node
- Changing the terrain size
- Changing the horizontal scale of the noise
- Changing the vertical scale of the heights
- Changing the terrain details
- Translating the terrain
- Setting the noise generation seed
- Rotating the terrain
- Setting the computation mode
- Applying an optional mask
- Video tutorial
- Parameters
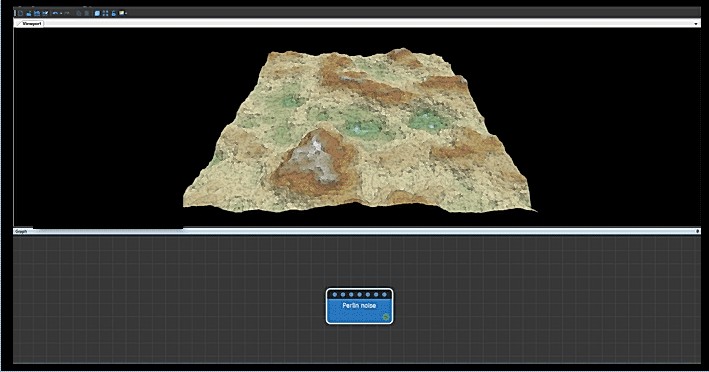
Adding a Perlin noise node
This node creates a terrain using a Perlin noise generator, one of the generators most frequently used to create a terrain.
To add a Perlin noise node, right-click in the Graph Editor and select Create Node > Terrain Transformation > Perlin noise.
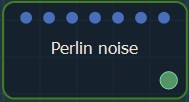
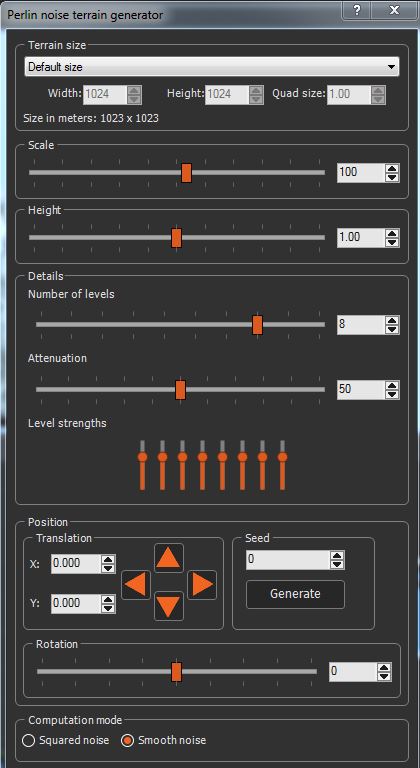
Double click on the node to open its parameters:
Changing the terrain size
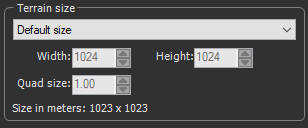
- To change the terrain size, edit the Width and Height fields in number of vertices or select a size preset from the list..
- To change the quad size, edit the Quad size field in meters.
Changing the horizontal scale of the noise
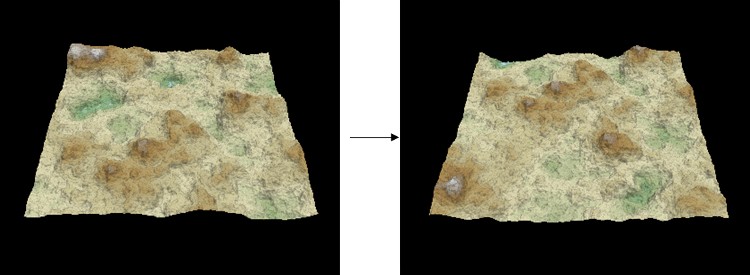
The Scale parameter determines the horizontal scale of the noise. A smaller coefficient gives a higher density of "bumps"; a larger coefficient gives a lower density of bumps.
Use the slider to set the horizontal scale of the terrain.

In the example below, the scale is decreased and the terrain has more bumps.
Changing the vertical scale of the heights
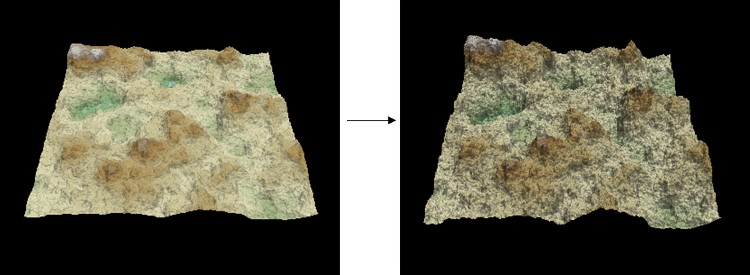
The Height parameter sets the vertical scale of the heights. Use the slider to set the terrain height.

A larger coefficient increases range of the height of the vertices. A smaller coefficient decreases range of the height of the vertices, as shown in the example below.
Changing the terrain details
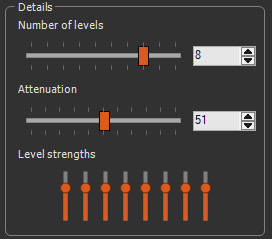
Use the sliders to change the parameters:
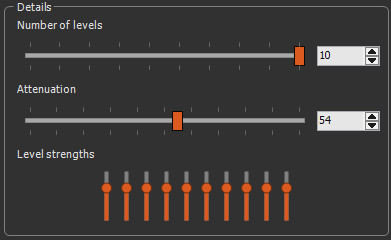
- Number of levels: The default number of levels of detail is 8. Each level has double the frequency of the previous level. In the example below, the number of levels is reduced from 8 to 4.
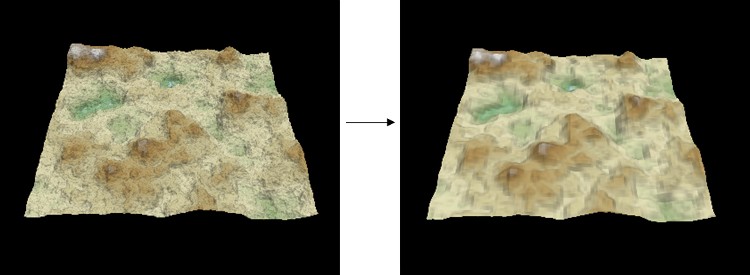
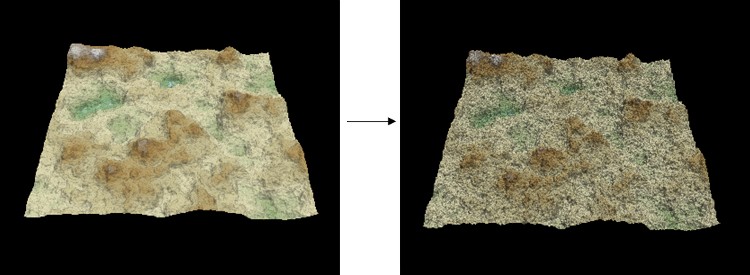
- Attenuation: This corresponds to the attenuation of a level of detail against the previous one. If this value is low, the high-frequency levels of detail dominate and generate a high-frequency noise, as shown in the example below. If this value is high, the high-frequency levels of detail are less visible.
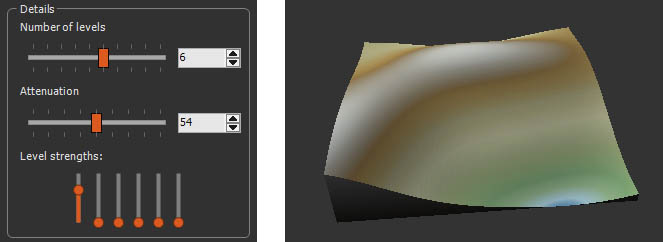
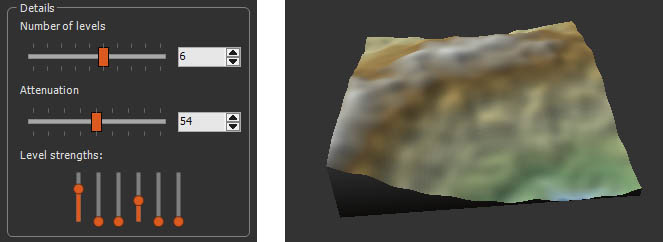
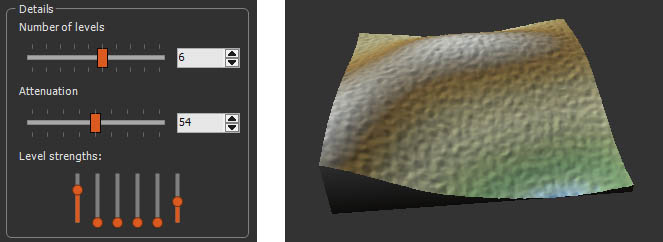
- Level strengths: This corresponds to the strength of each of the levels using an equalizer. The equalizer has as many bars as defined levels. Only 5 bars are visible because only 5 levels are used: the leftmost level is the main level, i.e. the larger level, and each subsequent level adds details that are twice as detailed as those in the previous level.
For example, if only one level is used:
If you increase level 4, you add details of medium size:
If instead of level 4, you increase level 6, you add more detail:
Right-click on the equalizer and select Reset to return to the default settings.
Attenuation corresponds to the decrease in strength when going from one level to the next. The effects of attenuation and individual adjustments of each level combine to give the final result. It is advisable to adjust the attenuation first, then to fine-tune with the individual adjustments.
Translating the terrain
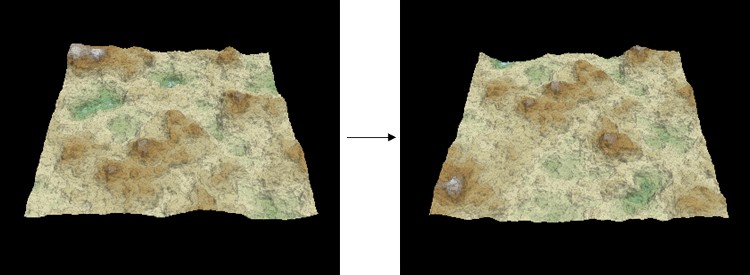
This parameter pans the terrain in the X and Y axes.
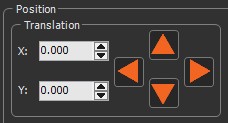
Enter a value in the X ands Y fields or use the arrow keys to pan horizontally and vertically.
Setting the noise generation seed
This parameter sets the value of the noise generation seed. Changing the seed value, even very slightly, completely changes the terrain shape.

Do one of the following:
- Enter a value in the Seed field.
- Click Generate to randomly generates a new seed.

Rotating the terrain
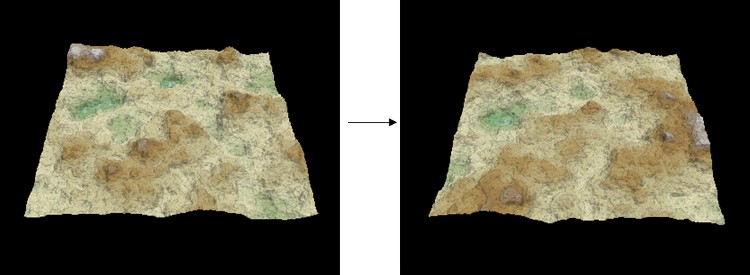
Use the slider to rotate the terrain from -180 to 180 degrees.

The example below shows the terrain rotated 180 degrees:
Setting the computation mode
Use the radio button to chose the underlying algorithm.

- Squared noise corresponds to the legacy implementation (a value noise with a linear interpolation between lattice points).
- Smooth noise corresponds to a more robust gradient noise. Nearly as fast as the squared noise, it produces smoother terrains without alignments or visual discontinuities. The difference is especially important when using few levels of details.

Applying an optional mask
The node accepts an optional mask for the parameter Number of levels of detail.

When a mask is linked into this connector, the mask values d​etermine the number of levels of detail used at each point.
- Black mask: 0 levels of detail, i.e. a flat terrain.
- White mask: the number of levels of detail is specified in the properties window.
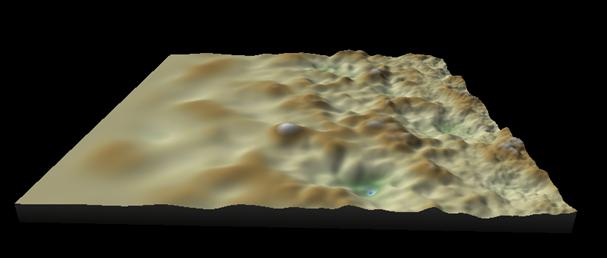
Where the mask is white, the number of detail levels is 8; where the mask is gray, the number of detail levels varies continuously between 0 and the number set; the last level appears gradually to avoid any discontinuity.
Example with two levels of detail:
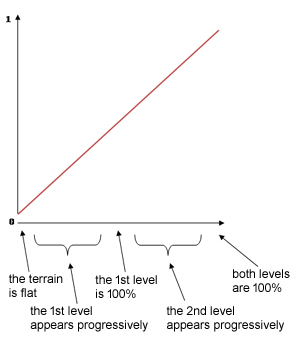
For mask containing a gradient as shown below:

Here are the results obtained.
Parameters
| Parameter | Use |
|---|---|
| Terrain size | See "Part common to all generator nodes" |
| Scale | Determines the horizontal scale of the noise. More this coefficient is small, the higher the density of "bumps" |
| Height | Sets the vertical scale of the heights. More this coefficient is large, the greater the height of the vertices range |
| Details | |
| Number of levels | This corresponds to the number of levels of detail. Each level
has a frequency twice as much as the previous one. |
| Attenuation | This corresponds to the attenuation of a level of detail
against the previous one. If this value is low, the high-frequency
levels of detail dominate and generate a high-frequency noise. If this value is high, the high-frequency levels of detail are less visible. |
| Level strengths | This corresponds to the strength of each of the levels using an equalizer. |
| Translation | |
| X, Y | Determines the translation values of the terrain |

|
Pans the terrain in X and in Y |
| Seed | Initial value of the noise generation seed. Changing the value of the seed (even very slightly) completely changes the terrain shape |
| Value | Edits the value of the seed |
| Generate | Randomly generates a new seed |
| Rotation | Rotates the terrain from -180 to 180 degrees |
| Computation mode | Changes the algorithm to use either a squared noise or a smooth noise |
