Adding an Import terrains from RGBA file node
This node creates terrains from an RGBA file. The image is transformed into gray levels, each pixel having a value between 0 and 1. The generated terrain has the resolution of the image as its size, and the height of each point depends on its gray level and the scale of the heights (vertices with a 0 value will have their height set to the min value, and vertices with a 1 value will have their height set to the max value).
To add a node, right-click in the Graph Editor and select Create Node > Import > Import terrains from RGBA file.
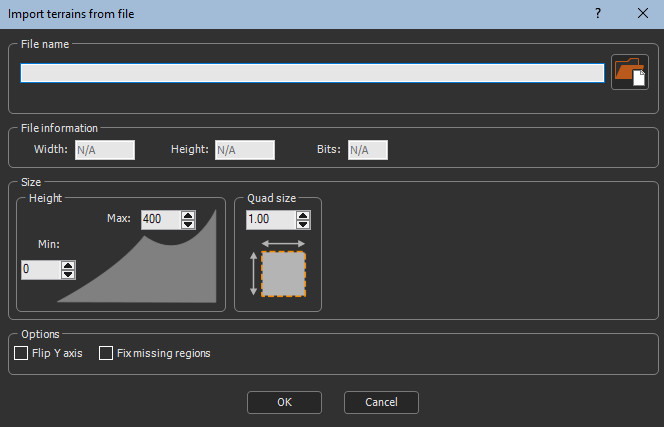
Double click on the node to open its parameters:
Importing terrains from an RGBA file
To import terrains from an RGBA file:
- Either:
- Drag and drop the file into the File name field, click on the folder button and browse to the file you want to import, or type the directory of the file to import.
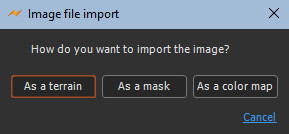
- Drag and drop the image directly into the Graph editor. A
pop-up dialog appears. Click whether you want to import the image
file as a terrain, mask, or color map.
If you have already saved your project, type just a file name or sub-directory and file name to import it from the same directory as your project. There is no need to type the file directory.

File names with Unicode characters are supported.
The bitmap file composed of the equivalent of a heightmap per channel (1 is the red channel, 2 is the green channel, 3 is the blue channel, and 4 is the Alpha one channel) is imported.
The following image formats are supported:
| Extension | Format | Comments |
|---|---|---|
| .bmp | Windows or OS/2 Bitmap file | 8/16/24/32 bits allowed |
| .gif | Graphics Interchange Format | |
| .jpg, .jpeg | Independent JPEG Group | |
| .png | Portable Network Graphics | 8/16 bits per channel with 1/3/4 channels (gray scale/RGB/RGBA) allowed |
| .ico | Windows Icon | |
| .tif, .tiff | Tagged Image File Format | 8/16/32 bits allowed |
| .tga | Truevision Targa File | |
| .psd | Adobe Photoshop | |
| .pgm | Portable Graymap | |
| .pfm | Portable Floatmap | |
| .exr | ILM openEXR |
Every heightmap used for a terrain may contain colors or an alpha channel. Both are converted into gray scale values.
- Quad size: Sets the size of the terrain quads.
- File information: Sets the Width, Height, and Bits of the terrain.
- Height: Sets the minimum and maximum height of the terrain.
- Flip Y axis: Check the box to flip the terrain around the Y axis.
- Fix missing regions: When importing satellite
data, some parts of the terrain may be marked as missing. This is
because part of the terrain is at an extremely low altitude (down
to -32 kilometers) and data are unavailable.
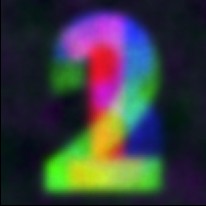
For example, in the image below the blue part is at a very low altitude and corresponds to unavailable data.
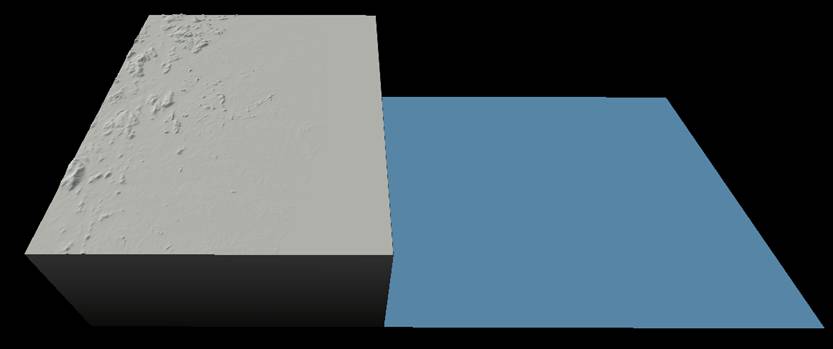
In some cases Instant Terra can detect these missing parts. In this case, the Fix missing regions option is available.

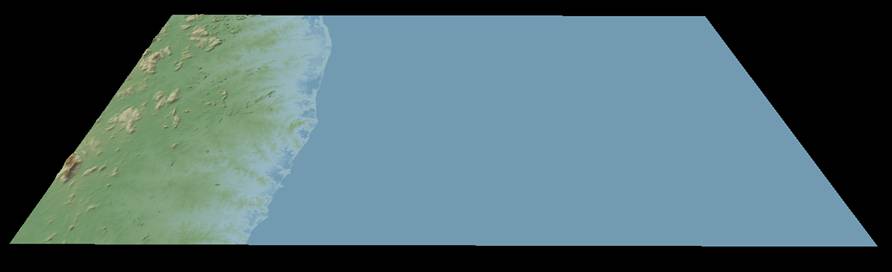
When the option is checked, the missing parts are set to zero altitude, which leads to a better result. Here is the same terrain when the option Fix missing regions is checked.
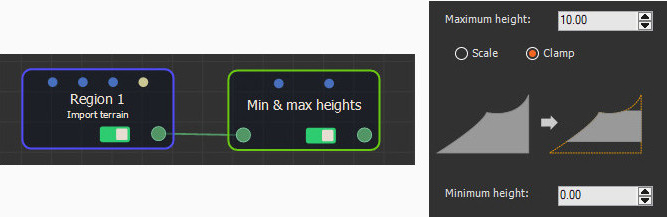
Tip: When a terrain from satellite data
presents a part located at a very low altitude and the Fix
missing regions option is not available or does not give a
satisfactory result, you can use a node Min & max heights node
in Clamp mode with a minimum height of zero to
obtain a similar result.
Technical part
The Fix missing region option is only available for 16-bit formats that accept negative values (INT16 format). In this case, a missing region is often indicated by values equal to -32,768. Instant Terra detects these values and replaces them with a value corresponding to an altitude of zero.
Parameters
| Parameter | Use |
|---|---|
| File name | Name of the file to load |
| Quad size | Sets the size of the terrain quads |
| File information | Shows the width, height, and bits of the terrain |
| Height | Sets the minimum and maximum height of the terrain |
| Flip Y axis | Flips the terrain around the Y axis |
| Fix missing regions | Sets the missing parts of imported satellite data to zero |