This documentation is where you will find how to use Instant Terra to create 3D terrains either from scratch using Instant Terra's node-based interface to build them, or import your own terrain and work from it.
What's new?
Find out what's new in Instant Terra v2.5.
Where to begin...
Getting started
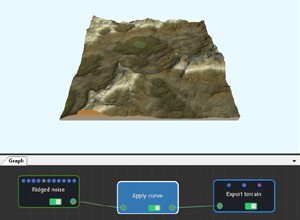
In the Getting Started section, learn about Instant Terra, how to install it, buy a license, get set up...
Play with various settings when you start a project to set the lighting, the camera style...
Video tutorials & demos
Wysilab's YouTube channel hosts numerous video tutorials and demos to help you familiarize yourself with Instant Terra.
Work through our the Getting started tutorial and create your first terrain.
Interactive tutorials
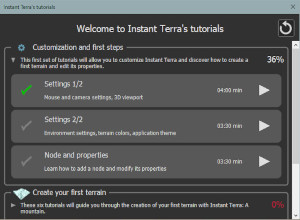
Play the interactive tutorials to easily learn the basics of Instant Terra.
Discover the camera and environment settings, the composition, the world browser, the animation, and much more.
Workflows & examples
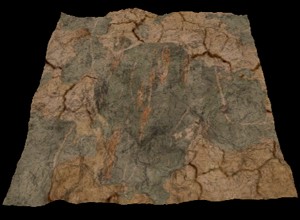
Read the workflows section and learn how the new features work.
Play with terrain examples
included with Instant Terra. Change node parameters and see the
results in real time.
Reference guides
Interface guide
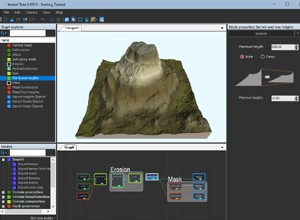
The Interface guide explains how to work in the Graph editor, Viewport, Graph explorer, and Models window.
This section also provides a reference guide of the main menu, the toolbar, and the keyboard shortcuts.
Nodes reference guide
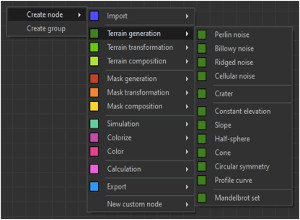
The Nodes reference guide
provides a complete list of all the terrain, mask, simulation,
color management, calculation, import, and export nodes
Each of the node's parameters, where applicable, is explained in
detail.
Animation

Instant Terra allows you to animate terrains by modifying the parameters of the graph nodes.
You can generate a video, a list of images (3D rendering, heightmap, mask, colormap, or normal map) or a list of 3D files.
Components and custom nodes

Learn how to create components from nodes in the graph and share them within and between projects and teams. Download ready-to-use components.
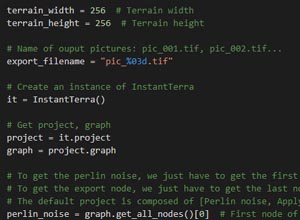
Create custom GPU and Python nodes to run your own scripts.
Known issues
We have listed some known issues for your information.
Copyright © 2022 · All Rights Reserved · Wysilab
